Shift Creation and mapping in SG portal
1. Create a New Shift
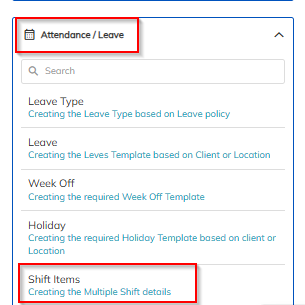
- Navigate to Settings → Attendance/Leave → Shift.
- Click Create New Shift to add a new shift.
2. Configure Shift Details
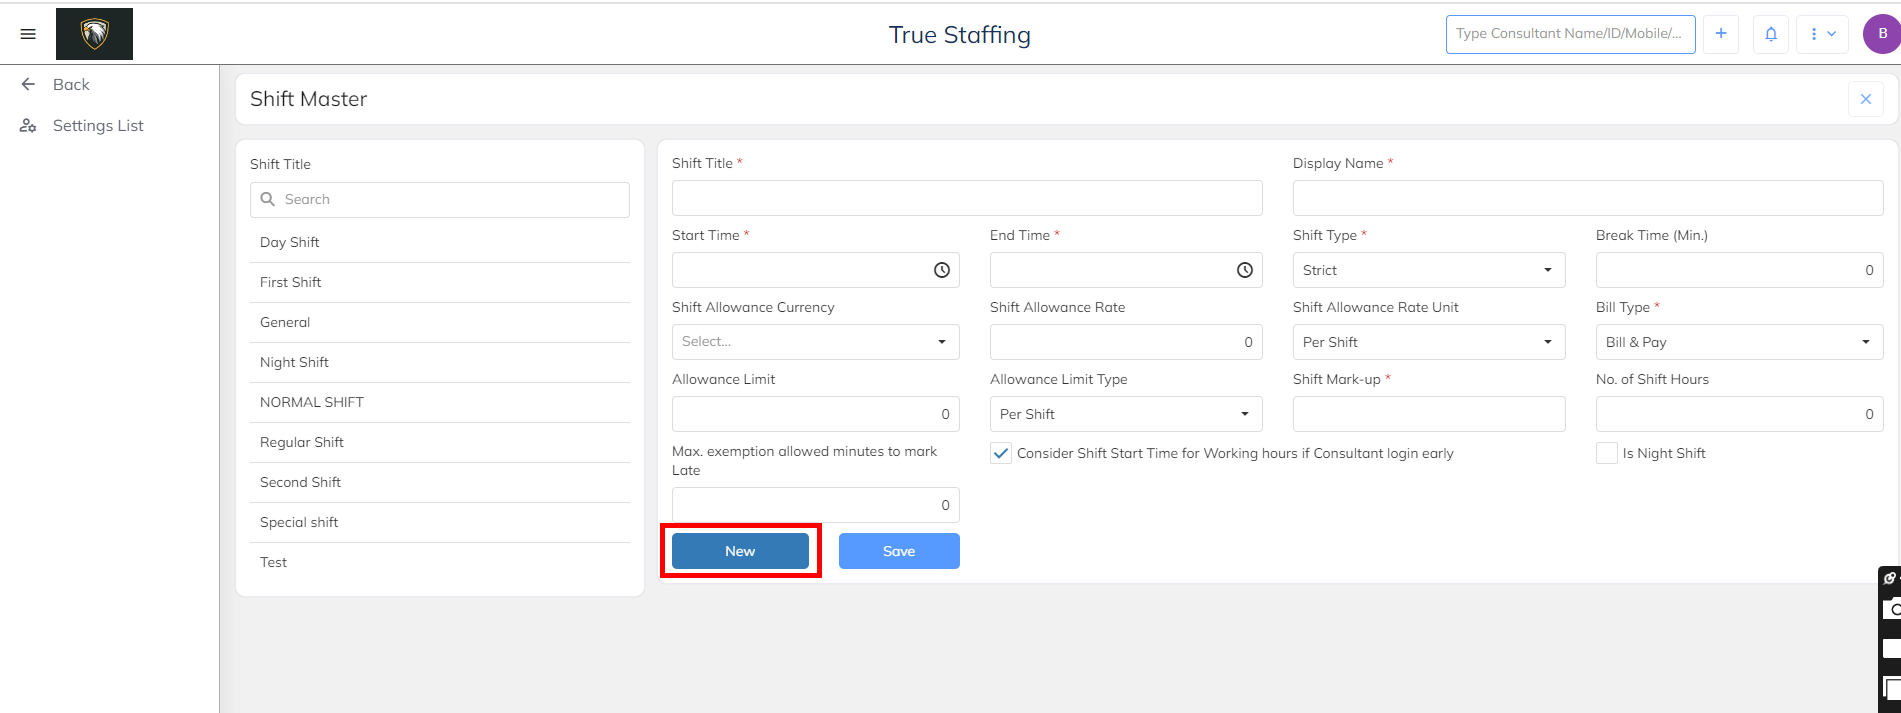
- Enter the required Shift Name.
- Update the Login Time and Logout Time.
- Configure all applicable shift settings and attendance control features as required.
- Save the shift after completing the configuration.
3. Map the Shift to Employees
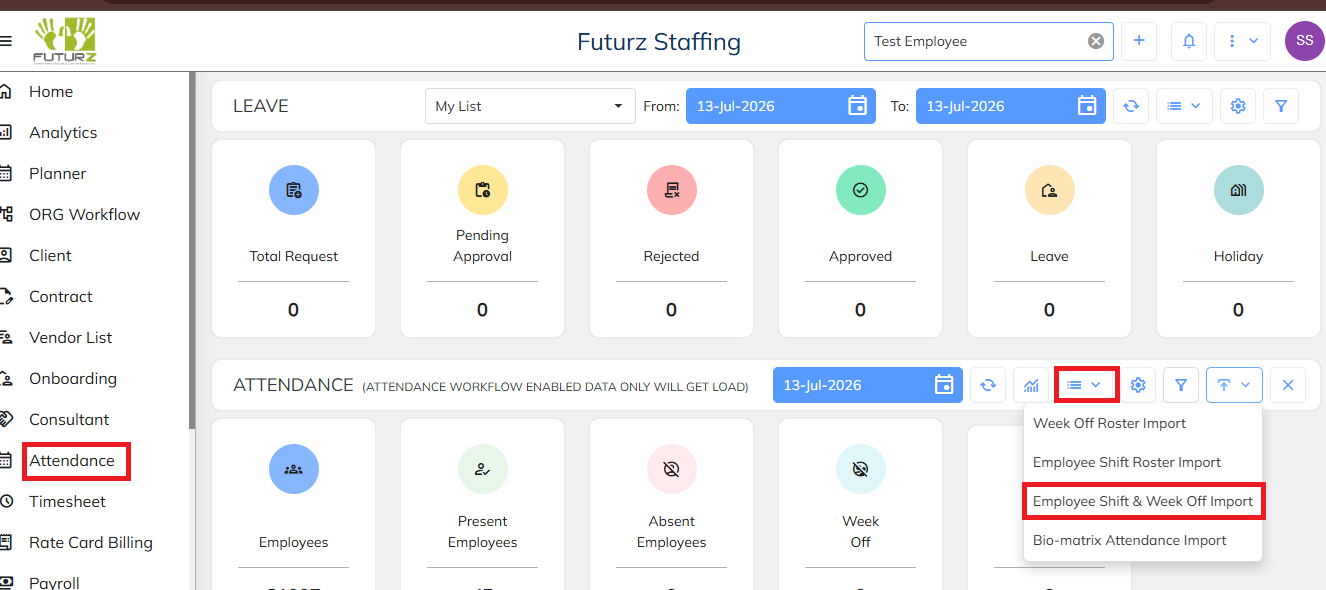
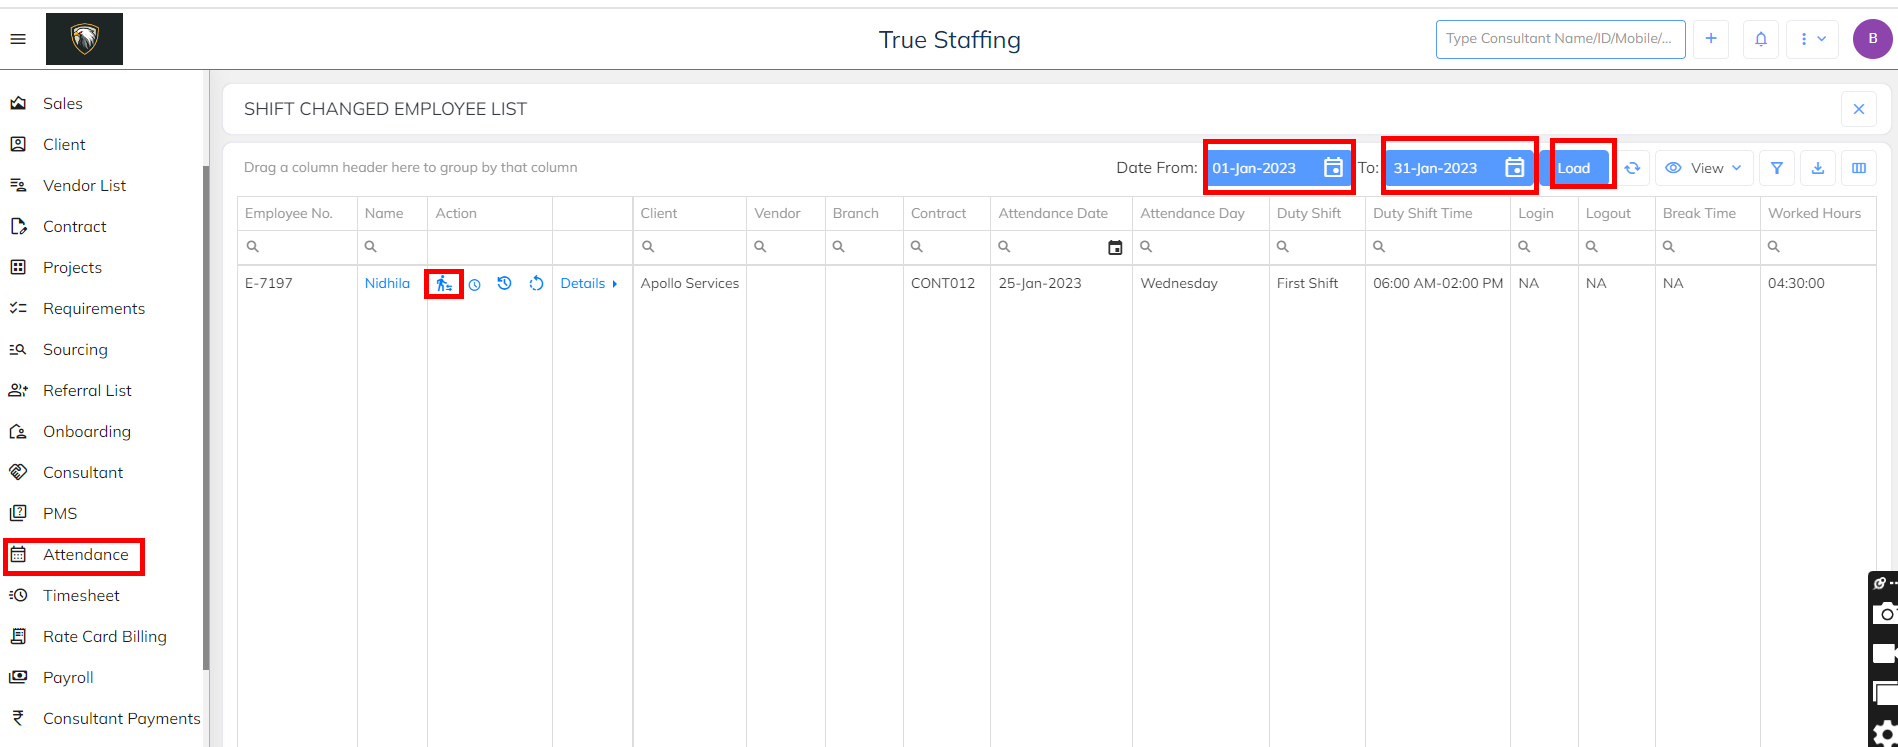
- Navigate to Attendance → Import → Shift Roster.
- Download the Sample Excel Template.

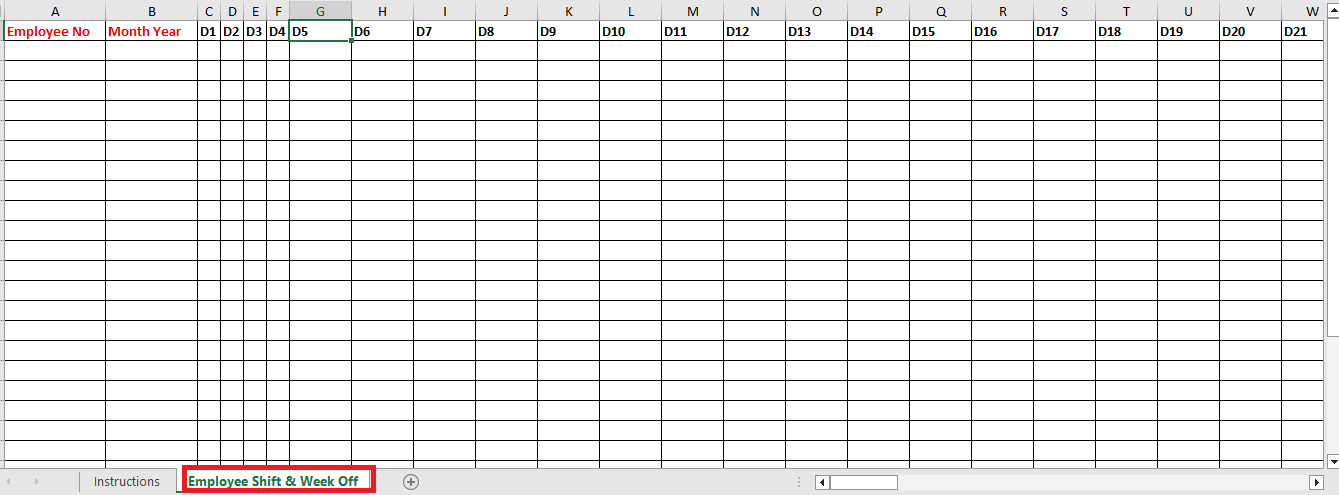
Update the Template
- Enter the Employee Details.
- Assign the appropriate Shift to each employee.
- Update the Weekly Off details as applicable.
- Save the completed Excel file.
Upload the Shift Roster
- Click Choose File.
- Select the updated Excel file.
- Upload the file to complete the shift mapping process.

4. Verify Shift MappingAfter successful upload, the mapped shifts can be verified in either of the following locations:
- Employee → Individual → Attendance Module
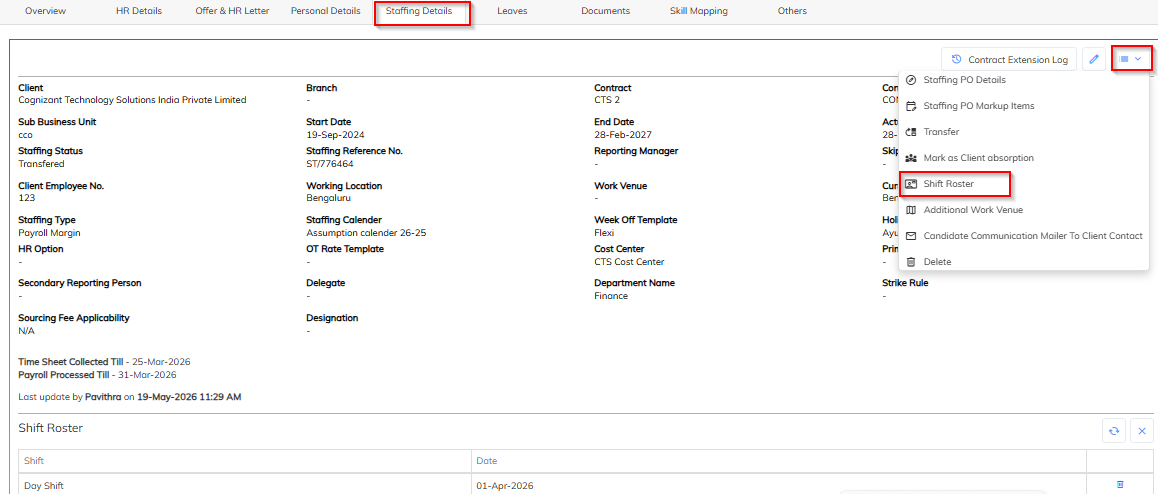
- Employee → Staffing Details
This confirms that the assigned shift and weekly off have been successfully mapped to the employee.
Was this article helpful?
That’s Great!
Thank you for your feedback
Sorry! We couldn't be helpful
Thank you for your feedback
Feedback sent
We appreciate your effort and will try to fix the article